As a wedding planner with over 15 years of experience creating magical moments for countless couples, I’ve learned that table centerpieces are far more than mere decorative elements – they’re conversation starters, mood setters, and memory makers. Today, I’m thrilled to share my insider knowledge and personal experiences to help you create the perfect centerpieces for your special day.
My Journey with Wedding Centerpieces
When I first started planning weddings in 2009, I made the rookie mistake of thinking bigger always meant better. I’ll never forget the horror on my bride’s face when she saw the massive tropical arrangement I’d created that practically blocked guests from seeing each other across the table! Since then, I’ve refined my approach, learning that the perfect centerpiece balances beauty with practicality.
Understanding Your Options
Throughout my career, I’ve worked with countless styles of centerpieces. Here’s my comprehensive breakdown of the most impactful options I’ve encountered:
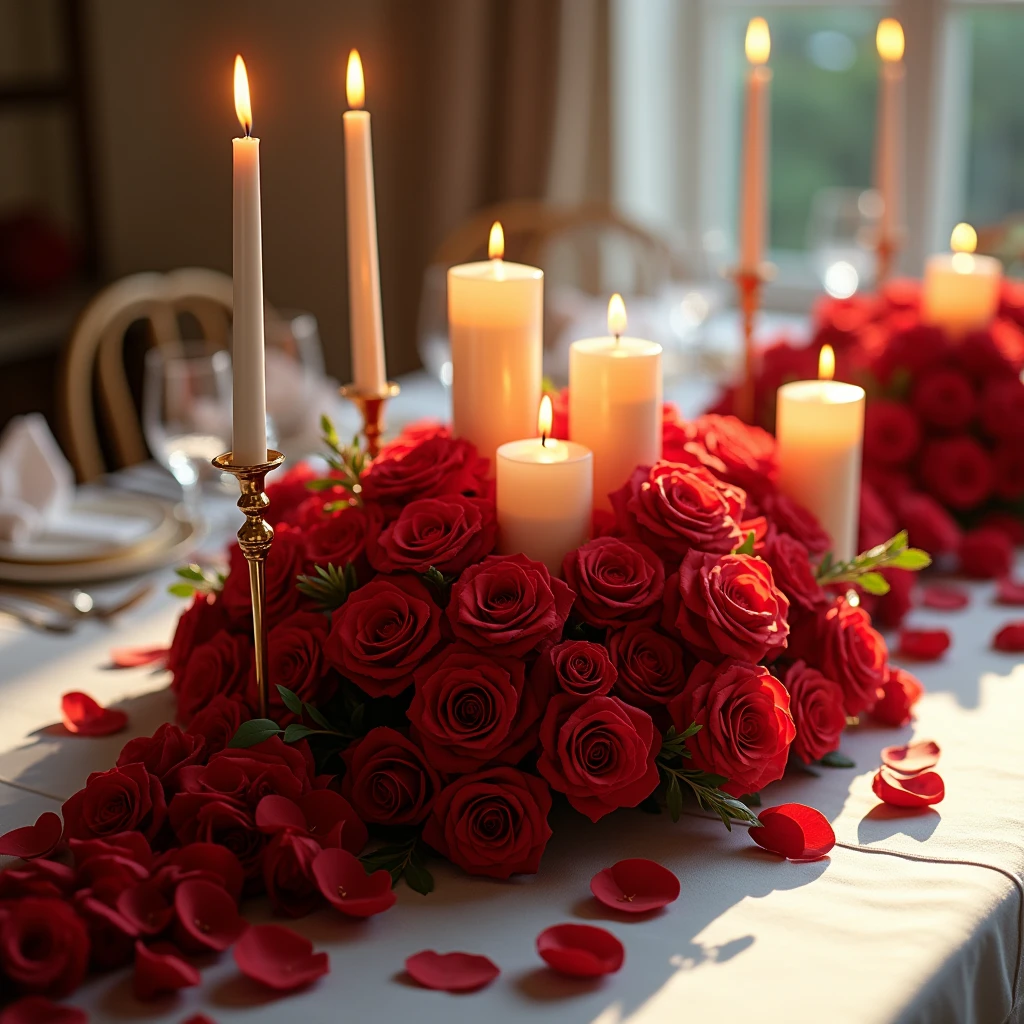
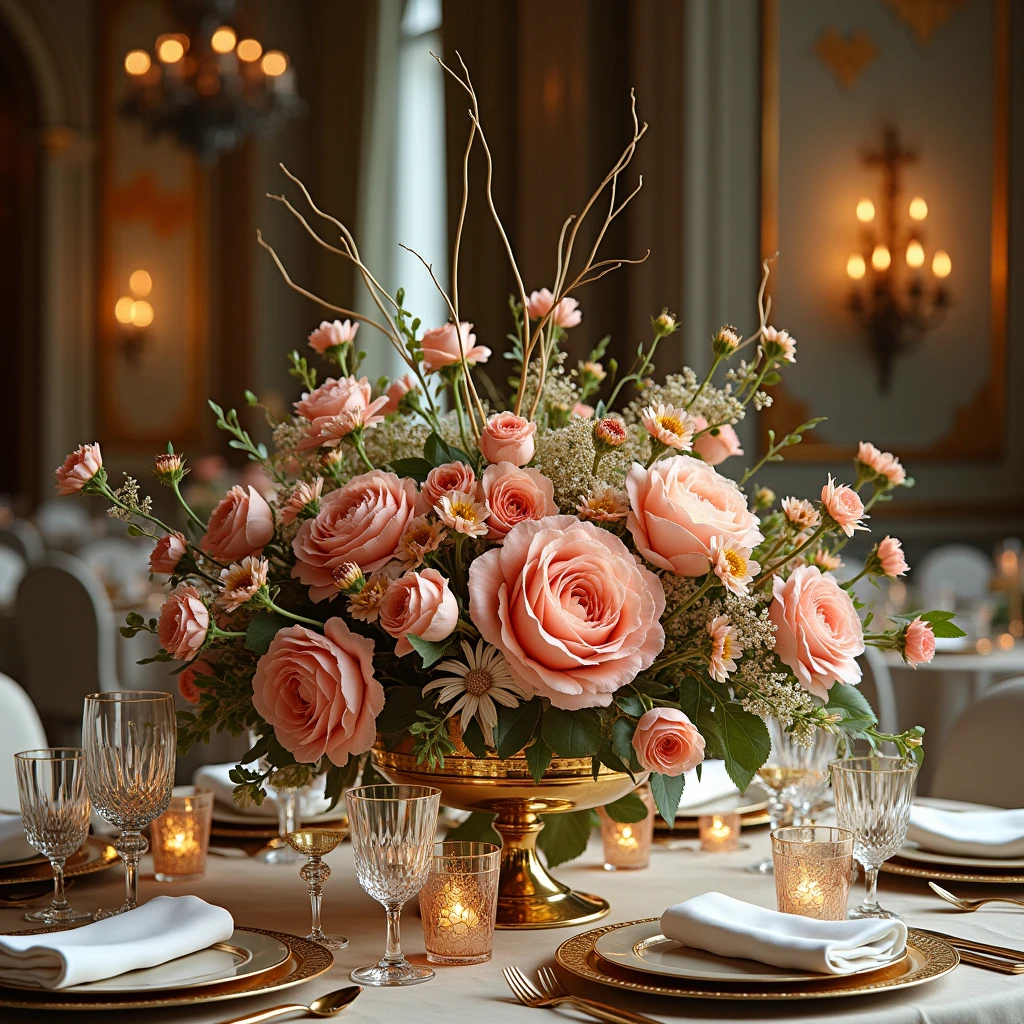
Traditional Floral Arrangements
I’ve found that classic floral arrangements remain the most popular choice among my clients. Here’s my tried-and-tested height guide based on table size:
| Table Size | Optimal Centerpiece Height | Recommended Flower Count | Average Cost Range |
|---|---|---|---|
| 60″ Round | 14-16 inches | 24-36 stems | $150-$300 |
| 72″ Round | 18-24 inches | 36-48 stems | $250-$400 |
| 8′ Rectangle | 12-14 inches (multiple) | 48-60 stems total | $300-$500 |
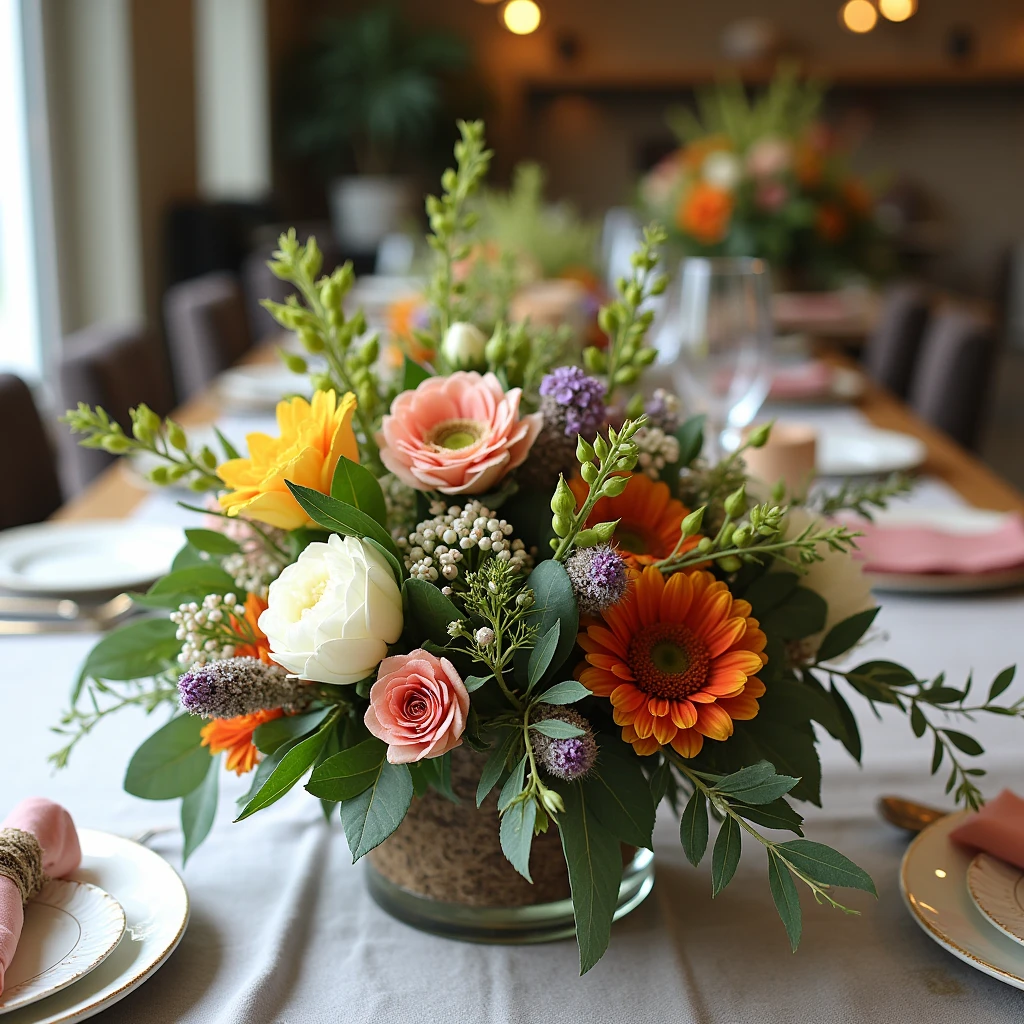
Non-Floral Elements
In my experience, mixing materials creates the most interesting centerpieces. Here are some of my favorite combinations:
- Crystal candelabras with fresh garlands
- Vintage books stacked with small flower arrangements
- Geometric terrariums filled with succulents
- Mirror bases with floating candles and flower petals
Budget-Friendly Solutions That Don’t Look Cheap
One of my proudest achievements was helping a bride with a tight budget create stunning centerpieces for under $50 per table. Here’s how we did it:
- Used in-season flowers mixed with high-quality silk flowers
- Incorporated affordable fillers like baby’s breath and greenery
- Invested in reusable elements like glass cylinders and LED candles
- Created impact with height using borrowed cake stands
My Cost-Saving Tips Table
| Element | Traditional Cost | Budget Alternative | Savings |
|---|---|---|---|
| Roses | $4-6 per stem | Spray roses | 60% |
| Vases | $40-60 each | Thrifted vessels | 75% |
| Candles | $8-12 each | LED alternatives | 40% |
| Greenery | $15 per foot | Preserved eucalyptus | 50% |
Seasonal Considerations

After planning weddings in every season, I’ve developed strong opinions about what works best throughout the year:
Spring (March-May)
- Tulips and daffodils in pastel-colored ceramic vessels
- Cherry blossom branches in tall glass vases
- Moss and woodland elements for texture
Summer (June-August)
- Garden roses and peonies in mercury glass containers
- Wildflower arrangements in mason jars
- Citrus fruits mixed with florals for tropical themes
Fall (September-November)
- Rich-colored dahlias and chrysanthemums
- Metallic pumpkins and organic elements
- Wheat sheaves and dried flowers
Winter (December-February)
- White orchids and silver-painted branches
- Crystal ice sculptures with LED lighting
- Pinecones and evergreen arrangements
Creating Visual Impact: My Professional Formula
After years of experimentation, I’ve developed what I call the “Rule of Three Dimensions”:
- Height Variation
- Tall elements (24-30 inches)
- Medium elements (12-18 inches)
- Low elements (6-8 inches)
- Texture Contrast
- Smooth elements (glass, mirror)
- Soft elements (flowers, fabric)
- Rough elements (bark, crystals)
- Color Harmony
- Main color (50% of arrangement)
- Accent color (30% of arrangement)
- Highlight color (20% of arrangement)
Common Mistakes I’ve Learned From
In my years of experience, I’ve seen (and made) nearly every centerpiece mistake possible. Here are the biggest ones to avoid:
- Forgetting about guest interaction
- Not considering the room’s lighting
- Ignoring table size and shape
- Selecting strongly scented flowers
- Not planning for temperature changes
DIY Tips from My Personal Experience
As someone who started in this industry creating DIY centerpieces, here are my top tips:
- Order flowers 3-4 days before the event
- Keep arrangements in a cool place (65-68°F)
- Use chicken wire in vases for better flower positioning
- Have backup elements ready for last-minute fixes
Q&A Section
Q: How far in advance should I start planning my centerpieces?
A: From my experience, start planning 6-8 months ahead, especially if you want specific seasonal flowers or custom elements.
Q: What’s the biggest mistake couples make with centerpieces?
A: In my years of planning, the biggest mistake I see is choosing arrangements that are too tall or wide, blocking conversation across the table.
Q: How many centerpieces should I order as backup?
A: I always recommend having 1-2 extra centerpieces for every 10 tables, plus additional loose flowers for emergency fixes.
Q: Can I mix different centerpiece styles at my wedding?
A: Absolutely! I often create varying designs that complement each other. The key is maintaining a cohesive color scheme and similar scale.
Maintenance Tips During the Event
As someone who’s managed countless wedding receptions, here are my tried-and-true tips for keeping centerpieces looking fresh:
- Position away from air conditioning vents
- Keep backup water tubes for fallen flowers
- Have electronic candle replacements ready
- Station emergency kit with floral tape and wire
Final Thoughts
After countless weddings and endless centerpiece designs, I’ve learned that the perfect centerpiece isn’t about following trends or spending the most money – it’s about creating a beautiful focal point that enhances your celebration without overshadowing the true stars of the day: you and your guests. Remember, your centerpieces should be conversation starters, not conversation blockers.