There’s something undeniably magical about a dessert that’s both rustic and sophisticated, approachable yet impressive. The Basque cheesecake fits this description perfectly, and today I’m sharing my favorite twist on this iconic dessert – the Loaf Pan Basque Cheesecake. This adaptation maintains all the charm and flavor of the original while offering unique serving possibilities and a stunning presentation that will have your guests thinking you’ve spent hours in the kitchen.
The Origin Story: From San Sebastian to Your Kitchen
The first time I encountered Basque cheesecake (or “tarta de queso” as it’s known in its homeland), I was wandering through the cobblestone streets of San Sebastian, Spain. This burnt, crustless cheesecake originated at La Viña, a small restaurant in the heart of the city’s old town. Unlike its American counterpart, Basque cheesecake celebrates imperfection – with its deliberately burnt top, creamy center, and rustic appearance.
What makes the loaf pan version so special is how it transforms this already incredible dessert into something even more versatile. The rectangular shape allows for beautiful, even slices that showcase the dramatic contrast between the caramelized exterior and the luscious, creamy interior.
Why Choose a Loaf Pan?
You might be wondering why you should deviate from the traditional round springform pan. Here are some compelling reasons:
- Perfect portion control: The loaf shape allows for even, beautiful slices
- Enhanced edges: More surface area means more of that coveted caramelized crust
- Stunning presentation: The rectangular slices create a dramatic visual on the plate
- Easier storage: Fits better in most refrigerators than a round cake
- Versatility: Can be sliced thin for petit fours or thick for generous dessert portions
I’ve found that guests are always intrigued and delighted when I serve this unique version, and it never fails to spark conversation at the table.
The Essential Ingredients
Like many culinary masterpieces, Basque cheesecake relies on relatively few ingredients, making their quality all the more important. Here’s what you’ll need for a perfect loaf pan version:
| Ingredient | Quantity | Notes |
|---|---|---|
| Cream cheese | 680g (24 oz) | Full-fat, room temperature (Philadelphia works beautifully) |
| Granulated sugar | 200g (1 cup) | Regular white sugar provides the best flavor balance |
| Eggs | 4 large | Room temperature for better incorporation |
| Heavy cream | 240ml (1 cup) | The higher the fat content, the richer the result |
| All-purpose flour | 20g (2 Tbsp) | Just enough to provide structure |
| Vanilla extract | 1 tsp | Use real extract, not imitation |
| Salt | ¼ tsp | Fine sea salt works best |
| Lemon zest (optional) | From ½ lemon | Adds a subtle brightness |
The beauty of this recipe lies in its simplicity, but don’t let that fool you – the flavors are deep and complex.
Equipment You’ll Need
Before diving into the preparation, gather these essentials:
- 9×5 inch loaf pan
- Parchment paper (enough to line the pan with overhang)
- Electric mixer (stand or handheld)
- Mixing bowls
- Measuring cups and spoons
- Fine mesh sieve (for the flour)
- Rubber spatula
- Cooling rack
The most important element here is the parchment paper setup. Unlike with traditional cheesecake, you want the parchment to extend well above the edges of the pan – this accommodates the dramatic rise during baking (don’t worry, it will settle as it cools).
The Perfect Bake: Step-by-Step Instructions
Creating a loaf pan Basque cheesecake requires attention to detail but isn’t complicated. Follow these steps for consistent success:
- Prepare your oven and pan: Preheat your oven to 425°F (220°C). Line your loaf pan with parchment paper, ensuring it extends at least 2 inches above the sides of the pan. The paper should be creased at the corners but doesn’t need to fit perfectly – those rustic wrinkles add character!
- Beat the cream cheese: In a large bowl, beat the cream cheese and sugar until smooth and completely free of lumps. This typically takes 2-3 minutes with an electric mixer. Don’t rush this step – proper incorporation here sets the foundation for a silky-smooth texture.
- Add eggs one by one: Add eggs one at a time, mixing well after each addition. Scrape down the sides of the bowl frequently to ensure even mixing.
- Incorporate remaining ingredients: Add the heavy cream, vanilla extract, and salt (and lemon zest if using). Mix until just combined. Sift the flour over the mixture and gently fold it in until no lumps remain.
- Pour and bake: Pour the batter into your prepared loaf pan. The mixture will be quite liquid – this is normal! Tap the pan gently on the counter a few times to release any air bubbles.
- Bake to perfection: Place in the preheated oven and bake for 30-35 minutes. The top should become deeply browned (almost burnt-looking), while the center should still have a significant wobble when gently shaken.
- Cool gradually: Let the cheesecake cool in the pan for 30 minutes, then use the parchment overhang to carefully lift it out. Allow it to cool completely on a wire rack before refrigerating.
- Chill thoroughly: Refrigerate for at least 4 hours, but preferably overnight. This resting period allows the flavors to develop and the texture to set perfectly.

The Science Behind the Magic
What makes Basque cheesecake different from other cheesecakes isn’t just the presentation – it’s the technique. Here’s why this method works so brilliantly:
The high initial temperature (425°F/220°C) causes the exterior to caramelize quickly, creating that signature burnt top while protecting the interior. As the proteins in the cream cheese and eggs coagulate at different temperatures, they create distinct textural zones within the cake – from the firm, caramelized exterior to the barely-set, custardy center.
The lack of water bath (unlike traditional cheesecakes) allows for more dramatic temperature differences throughout the cake, contributing to these textural variations. The result is a dessert with incredible depth of flavor and an engaging mouthfeel that evolves with each bite.
Troubleshooting Common Issues
Even experienced bakers sometimes encounter challenges. Here are solutions to the most common problems:
| Problem | Possible Cause | Solution |
|---|---|---|
| Cheesecake is too firm | Overbaking | Reduce baking time by 3-5 minutes; remember it should still wobble in the center |
| Center is too runny | Underbaking | Extend baking time by 2-3 minutes; check that your oven temperature is accurate |
| Uneven browning | Hotspots in oven | Rotate the pan halfway through baking; consider using an oven thermometer |
| Cracks on surface | Overbeating the batter | Mix just until ingredients are incorporated; avoid introducing excess air |
| Sunken middle | Opening oven door too early | Resist peeking until at least 25 minutes into baking |
| Sticking to parchment | Paper not properly placed | Ensure paper extends above pan edges and is well-greased if necessary |
Remember that some imperfection is part of the charm of this rustic dessert!
Creative Variations to Try
While the classic version is perfect on its own, I love experimenting with variations. Here are some of my favorite twists:
Flavor Infusions
- Espresso: Add 1 tablespoon of espresso powder to the batter for a coffee-infused version
- Matcha: Incorporate 1-2 teaspoons of high-quality matcha powder for a green tea variation
- Citrus: Increase the lemon zest or substitute orange or lime zest for a brighter flavor profile
- Spiced: Add 1 teaspoon of cinnamon and a pinch of nutmeg for a warming, autumnal version
Structural Variations
- Chocolate Bottom: Spread a thin layer of melted dark chocolate on the parchment before adding the batter
- Swirled: Gently swirl in 3-4 tablespoons of fruit compote, chocolate ganache, or dulce de leche
- Layered: Create a two-tone effect by adding cocoa powder to half the batter
- Mini Loaves: Divide the batter among mini loaf pans for individual portions (reduce baking time accordingly)

Elegant Serving Suggestions
The beauty of Basque cheesecake lies in its versatility. Here are my favorite ways to serve this showstopper:
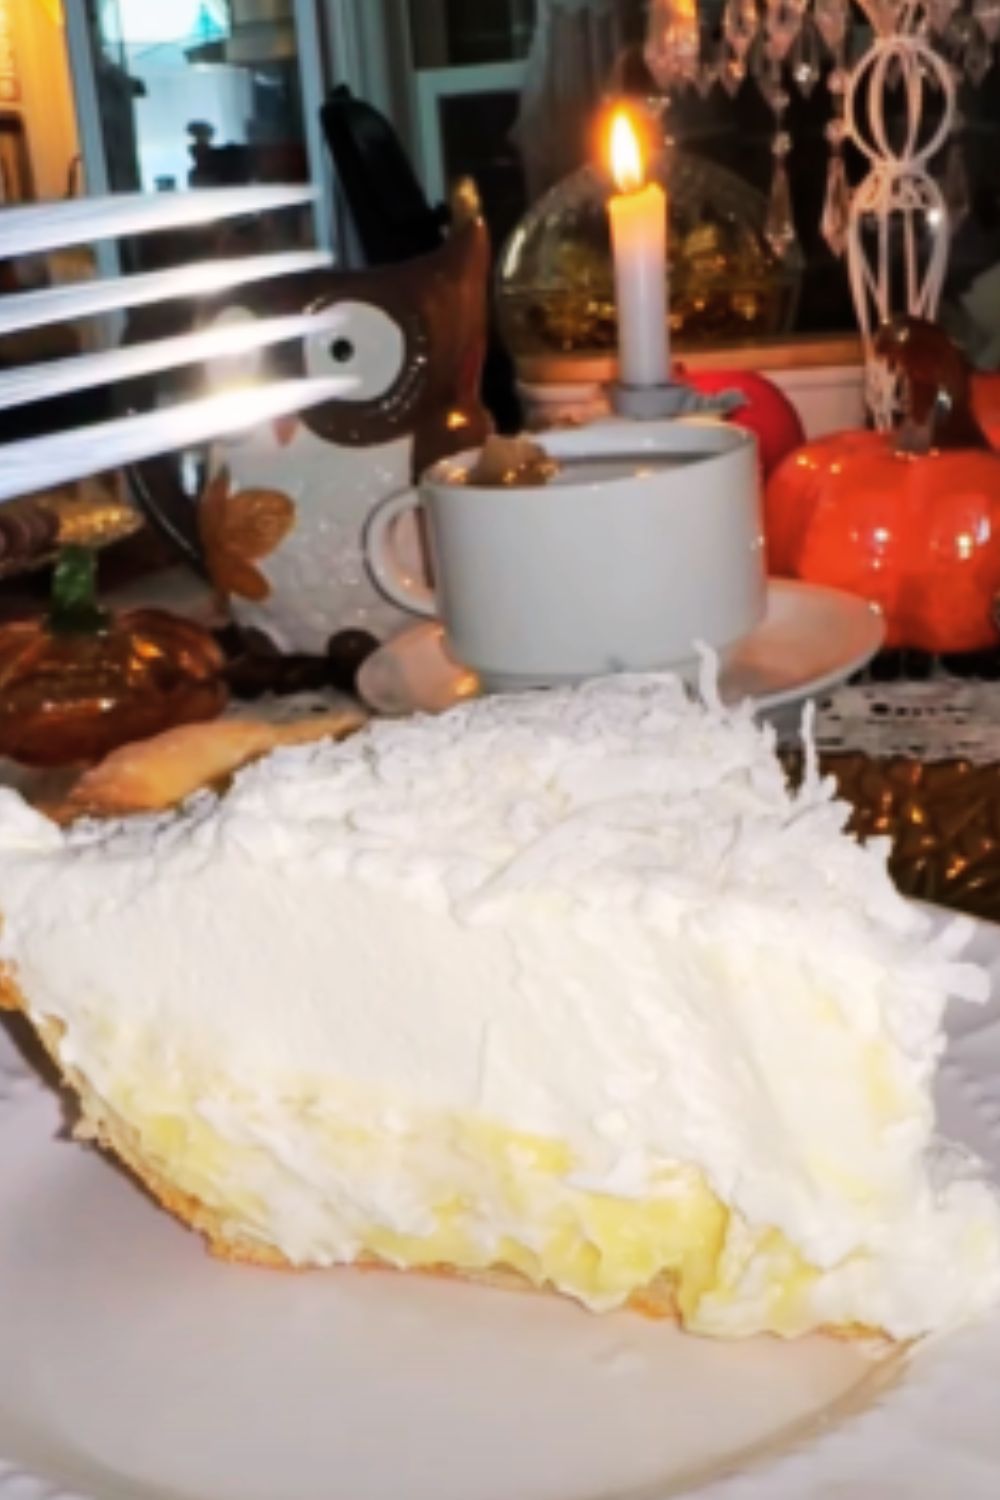
- Classic Simplicity: A thin slice on a white plate with a light dusting of powdered sugar
- Fruit Forward: Top with macerated berries or a spoonful of lightly sweetened fruit compote
- Sauce Pairings: Drizzle with salted caramel sauce, dark chocolate ganache, or passion fruit coulis
- Contrast Play: Serve with a quenelle of tangy crème fraîche or sharp lemon sorbet
- Tea Service: Cut into small rectangular pieces and serve alongside espresso or a robust tea
For a truly special presentation, I like to warm my serving knife in hot water, then dry it before each slice for the cleanest cut.
Make-Ahead and Storage Tips
One of the many advantages of Basque cheesecake is its make-ahead potential. Here’s how to maximize convenience without sacrificing quality:
- Optimal Timeline: Make 1-2 days ahead for the best flavor development
- Refrigeration: Store covered in the refrigerator for up to 5 days
- Freezing: Wrap individual slices tightly in plastic wrap, then foil, and freeze for up to 1 month
- Serving from Frozen: Thaw overnight in the refrigerator or for 2 hours at room temperature
- Room Temperature: For the best texture and flavor, allow slices to sit at room temperature for 20-30 minutes before serving
I find that the flavors actually continue to develop over the first 24-48 hours, making this the perfect dessert to prepare in advance of a dinner party.
The Perfect Slice: Cutting Techniques
Achieving that picture-perfect slice requires a bit of technique:
- Chill thoroughly: A well-chilled cheesecake (at least 4 hours, preferably overnight) slices much cleaner
- Hot, clean knife: Run your sharp knife under hot water and wipe dry before each cut
- Single motion: Cut straight down in one fluid motion rather than sawing
- Clean between slices: Wipe the blade clean after each cut for the sharpest definition
- Lift carefully: Use a thin spatula or cake server to cleanly remove each slice
These simple steps make the difference between a neat, magazine-worthy presentation and a messy (though still delicious) serving.
Seasonal Adaptations
One thing I love about this recipe is how easily it can be adapted to reflect the changing seasons:
Spring
- Top with fresh strawberries and a mint chiffonade
- Incorporate a subtle lavender infusion into the batter
- Serve with a rhubarb compote
Summer
- Garnish with fresh mixed berries and a lemon verbena leaf
- Pair with a peach and raspberry coulis
- Serve with a scoop of blackberry ice cream
Fall
- Drizzle with maple-bourbon sauce
- Top with spiced poached pears
- Incorporate pumpkin puree and warm spices into the batter
Winter
- Serve with cranberry-orange compote
- Garnish with candied citrus peel
- Pair with a dark chocolate and peppermint sauce
These seasonal adaptations keep this recipe in my regular rotation year-round.
Frequently Asked Questions
Over the years, I’ve received many questions about this unique cheesecake. Here are answers to the most common queries:
Q: Can I use a different size loaf pan? Yes, but you’ll need to adjust the baking time accordingly. A wider, shallower pan will require less time, while a narrower, deeper pan will need more.
Q: Does it matter what brand of cream cheese I use? In my experience, Philadelphia cream cheese provides the most consistent results, but any full-fat cream cheese will work. Avoid low-fat versions, as they contain stabilizers that affect the texture.
Q: My cheesecake seems too jiggly in the center. Is this normal? Absolutely! Basque cheesecake should have a significant wobble when you remove it from the oven. It will continue to set as it cools and chills.
Q: Can I make this recipe without an electric mixer? While possible, it’s much more challenging to achieve the smooth, lump-free texture that’s essential to this dessert. If you must mix by hand, ensure your cream cheese is very soft and prepare for a serious arm workout!
Q: Is it supposed to sink in the middle as it cools? Yes, this is completely normal and part of the charm. The dramatic rise during baking will settle as it cools, creating that characteristic dip in the center.
Q: Can I make this recipe dairy-free? While I haven’t perfected a dairy-free version, some readers have reported success using dairy-free cream cheese and coconut cream as substitutes. The texture will be slightly different, but still delicious.
Q: Why flour? Most cheesecakes don’t include flour. The small amount of flour provides just enough structure to support the custard-like interior while allowing for that perfect creamy texture. Without it, the cheesecake would be too soft to slice cleanly.
The Perfect Pairing: Beverages
The rich, complex flavors of Basque cheesecake pair beautifully with several beverages:
- A small espresso or cortado provides the perfect bitter contrast
- Pedro Ximénez sherry complements the caramelized notes
- Sparkling water with a slice of lemon refreshes the palate
- Herbal teas like chamomile or lavender make a soothing accompaniment
- A rich hot chocolate creates an indulgent dessert experience
I personally love serving it with a cup of strong black coffee – the bitterness perfectly balances the cheesecake’s richness.
Why This Recipe Works Every Time
After making this recipe dozens of times, I’ve identified the key factors that guarantee success:
- Room temperature ingredients: This ensures proper incorporation and a smooth batter
- Minimal mixing after adding eggs: Prevents excess air which can cause cracks
- High initial oven temperature: Creates that signature burnt top
- Proper chilling time: Allows flavors to develop and texture to set
- Generous parchment paper: Accommodates the rise and makes removal easy
Follow these principles, and you’ll create a spectacular dessert every time.
In Conclusion
The Loaf Pan Basque Cheesecake represents the perfect intersection of simplicity and sophistication. With just a handful of ingredients and straightforward techniques, you can create a dessert that rivals those found in high-end pastry shops.
What I love most about this recipe is how it celebrates imperfection. The rustic appearance, with its cracked top and uneven edges, reminds us that some of the most delicious creations don’t need to be picture-perfect. It’s a dessert that encourages creativity and personal interpretation while delivering consistently outstanding results.
Whether you’re an experienced baker or just beginning your culinary journey, this adaptable recipe deserves a place in your repertoire. Give it a try, and I’m confident it will become one of your signature desserts – one that friends and family will request time and again.
So heat up that oven, prepare your loaf pan, and get ready to create a dessert that’s as impressive to look at as it is to eat. Your dessert game is about to be elevated to new heights!