By Ann J. Grossman
Having planned and decorated countless weddings, including my own rustic-themed celebration last fall, I’ve discovered that the most memorable decorations are often the ones crafted with love and creativity. Today, I’m excited to share my favorite DIY rustic wedding decorations that have consistently wowed guests while keeping budgets intact.
1. Mason Jar Centerpieces with a Twist

When I first started creating mason jar centerpieces, I quickly learned that the magic lies in the layering. My tried-and-true approach involves:
- Wrapping twine around the jar’s neck in varying patterns
- Adding lace ribbons for a softer touch
- Filling with a mix of fresh and dried flowers
- Incorporating floating candles for evening ambiance
Pro Tip: I’ve found that soaking the jars in warm, soapy water makes label removal effortless.
Materials Needed:
- Mason jars (various sizes)
- Natural twine
- Lace ribbon (2-3 inches wide)
- Tea lights or floating candles
- Seasonal flowers
- Hot glue gun
- Wire for hanging options
2. Burlap Table Runners That Tell a Story

My secret to creating unique table runners is incorporating personal elements. Here’s my method:
- Cut burlap to size (add 12 inches to desired length)
- Fray edges carefully for a rustic look
- Stencil meaningful dates or quotes
- Add lace trim for elegance
Measurements Guide:
| Table Size | Runner Length | Runner Width | Overhang |
|---|---|---|---|
| 6-foot | 108 inches | 14 inches | 12 inches |
| 8-foot | 132 inches | 14 inches | 12 inches |
| Round (60″) | 84 inches | 14 inches | 12 inches |
3. Wooden Slice Coasters with Natural Charm

One of my favorite projects involves creating personalized wooden coasters. I’ve found that:
- 4-inch diameter slices work best
- Sanding both sides prevents splinters
- Two coats of polyurethane ensure durability
- Wood burning adds a personal touch
4. String Light Canopy Dreams

Creating a magical ceiling of lights requires careful planning. My formula includes:
- 100 lights per 8 square feet
- Strategic anchor points every 4 feet
- Multiple power source locations
- Dimmer switches for ambiance control
5. Wildflower Bouquets and Arrangements

After years of experimenting, I’ve perfected the art of wildflower arrangements:
- Pick flowers at different heights
- Include various textures
- Add unexpected elements like wheat or lavender
- Secure with natural twine
Seasonal Flower Guide:
| Season | Best Flowers | Complementary Elements |
|---|---|---|
| Spring | Daisies, Tulips | Cherry Blossoms |
| Summer | Sunflowers, Black-Eyed Susans | Wheat Stalks |
| Fall | Asters, Goldenrod | Dried Grasses |
| Winter | White Anemones, Evergreen | Pine Cones |
6. Vintage Suitcase Display Magic

Transform old suitcases into stunning displays:
- Clean and line with vintage paper
- Add twine clotheslines for cards
- Create levels with wooden crates
- Include battery-operated fairy lights
7. Pallet Signage That Guides and Delights

My approach to pallet signs focuses on:
- Selecting pallets with character
- Sanding rough edges for safety
- Using weather-resistant paint
- Adding directional arrows and timing information
8. Twine-Wrapped Vases with Personality

These simple yet stunning vases involve:
- Cleaning glass surfaces thoroughly
- Starting with a solid base layer
- Creating patterns with different twine types
- Securing with clear-drying glue
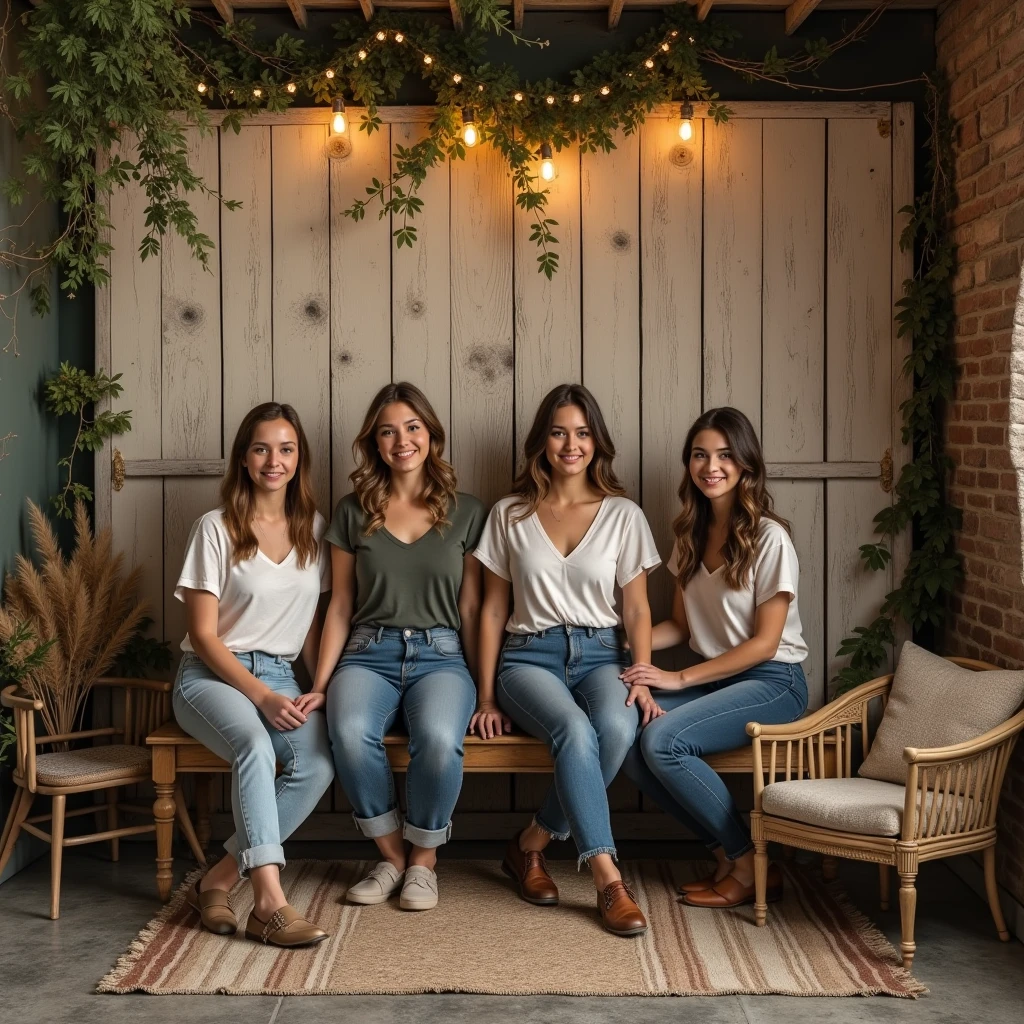
9. DIY Photo Booth Backdrop Creation

My photo booth backdrop recipe includes:
- Layer different textures (burlap, lace, wood)
- Add dimensional elements
- Include interactive props
- Ensure proper lighting
10. Candlelit Lanterns for Atmosphere

Perfect lantern arrangements require:
- Varying heights and sizes
- Strategic grouping in odd numbers
- Battery-operated candles for safety
- Greenery accents
Frequently Asked Questions
Q: How far in advance should I start these DIY projects?
Start larger projects like the string light canopy and pallet signs 3-4 months before the wedding. Smaller items like mason jars can be done 1-2 months ahead.
Q: What’s the average cost saving with DIY decorations?
In my experience, DIY decorations typically save 40-60% compared to professional decorations. For example, a set of 20 mason jar centerpieces costs about $100 to make versus $400-500 to buy.
Q: How can I prevent hot glue strings from ruining the look?
My secret is using a hairdryer on low heat to remove those pesky strings after the glue dries. It works like magic!
Q: What’s the best way to transport these decorations to the venue?
Pack items in plastic bins with bubble wrap, keeping similar items together. Label everything clearly and create a photo inventory on your phone.
Q: How can I make sure all my DIY elements coordinate?
Create a mood board first and stick to a consistent color palette. I recommend choosing 2-3 main colors and 1-2 accent colors.
Storage and Setup Tips
- Create detailed assembly instructions with photos
- Pack a comprehensive emergency kit
- Label boxes clearly with contents and location
- Designate specific setup teams for each element
Time Management Suggestions
| Project | Time Needed | Best Time to Start |
|---|---|---|
| Mason Jars | 2-3 hours | 2 months before |
| Table Runners | 4-5 hours | 3 months before |
| Wooden Slices | 6-8 hours | 2 months before |
| String Lights | 8-10 hours | 1 month before |
| Photo Booth | 5-6 hours | 1 week before |
Remember, these rustic DIY decorations aren’t just about saving money – they’re about creating a deeply personal celebration that reflects your story. Through my experience, I’ve found that the most cherished wedding moments often center around these handcrafted touches that guests can feel were made with love.
I hope these ideas inspire you to create your own magical rustic wedding atmosphere. Happy crafting!

